The last 3 days have been extremely tiring but I'm delighted to say the cages are now built.
My original plan was to stack them on top of each other and keep them in the spare room where the old cage is but then we put them side by side in the lounge and decided we really liked them here. The wheels and the saucers I made run completely silently so the only sound the girls will make is when they chew at things or let out the occasional squeak.
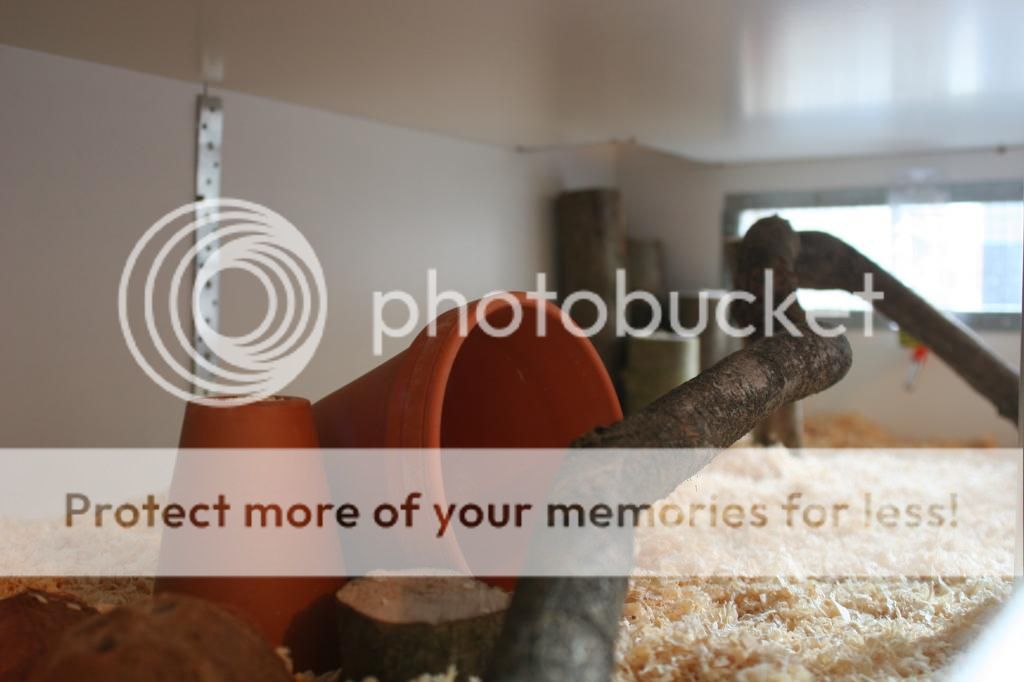
I took some photos as I was completing the build - although not as many as I should have done, I just got a bit carried away with it...
Day 1:
I collected the melamine boards from B&Q and used their free wood cutting service to cut the pieces to size. It's a great service as the machine they use it accurate to the mm and you know that every cut will be completely straight. My Dad came with me as his car is bigger than mine and he has a garage at his house which I use to saw and hammer without disturbing anyone. I live in a flat so jig-sawing wouldn't go down to well.
First thing to do was to mark out where all my vents would go, this was super easy as I had my design in sketchup already so any measurements I needed to know I used the program to find out.
I then cut out each vent (all 12!) and we covered each hole with wire mesh and held it in place with builders band.
This looks like a really easy job but the mesh is very sharp where it's been cut and the builders band is extremely hard to work with.
The next thing I did was to cut out the pop holes in the levels with the jig saw and attach my kiln dried pine strips. I also then covered the edges of the melamine with more builders band.
It's worth adding the kiln dried pine to the edges of any holes as it stops all the sawdust from falling through the hole and making a pile underneath. The protection I used over the kiln dried pine was some angle beading (normally used for plastering) that I picked up from B&Q, it's £1.98 for a 3 metre length and it works great.
see here
Next I assembled my front panels, I had originally intended for the front panels to be made from one solid piece of board but after B&Q had a mess up with my order I had to take smaller panels and this meant my front board had to come in two parts. First job was to put them together using some brackets and then run a strip of builders band along the back.
Along the top of these panels I stuck the glass runners down using a glue gun. The glass runners width was just shorter than the width of the panel so my Dad ironed on white edging strip along the top first. By this time we'd had enough so we called it a day and went out for a meal as it was my Dad's birthday.
Day 2:
I brought all the panels back to the flat and then came the task of assembling it. I started by screwing the front panels to the top of the ledges and marking out where the levels sit on the side panels. I was by myself so figured the easiest way would be to lay all the pieces on the floor on their sides and do it that way. I screwed the side panels to the top and bottom first and then slotted in both the levels screwing through the sides to ensure it was secure.
Once this was done I just placed the back panels on top and screwed them into place from the top and bottom and screwing along the levels too so they didn't sag into the middle. Before doing this I had pre-drilled holes in my back panel for the wheel to slot into.
I then stood the cage up and pushed my aluminium tube supports into place (they are held in place by the pressure) and glue gunned the other half of the glass runners to the underside of my levels.
Then came the moment of truth...the acrylic sheets, they actually fit and I was so relieved. Everywhere I have read online says to only order the acrylic once the cage is assembled but this would mean assembling the cage and then waiting another week for the acrylic which I knew I would hate. I ordered the acrylic sheets to be exactly 10mm shorted than the gap they would fit into and it worked great, they fit perfectly. They have about a 6mm gap above them which is perfect because it means you can easily lift them out for cage cleaning. Of course once this was complete I had to do the same thing again with the second cage!
I'm so delighted with how they look though and was pleasantly surprised and how much they look like the design.
Day 3:
Finally I used a pet safe, non toxic silicone around all the ledges so it's waterproof and nothing will get down the sides and start lifting the melamine coating. I then left the silicone for 24 hours to cure before I could start furnishing. I also ran a strip of builders band down the inside of the back panel so they wouldn't start chewing at the seam between the two panels. I thought the silicone would be an easy task but I was very wrong. I'd never used silicone before and I managed to get it everywhere, I even got some in the ends of my hair which will not come out - thankfully I'm having a haircut on Thursday...